


You know, if you are the type who gets a kick out of being creative and messing around with your own hands to change up spaces, then 2026 really seems like a great time to dive into some DIY stuff and crafts. I mean, these kinds of projects let you show off that artistic side of yours. They also give you a pretty sustainable way to make your living area better. Like, you can take old materials and upcycle them. Or craft some custom decor pieces. The options just keep going on and on. And these ideas fit right in for folks who like getting their hands dirty. Oh, and with all those visual sites like Pinterest blowing up, putting your stuff out there is easier than ever. It feels rewarding too. Anyway, in this guide here, we are going to go over five solid DIY craft projects to freshen up your home. I will include the materials you need. Plus step-by-step how-tos. And some tips to help your work really pop. Now, whether you have been crafting for years or you are just starting out and want to give it a shot, these should get you going right now.
Upcycled Pallet Wall Art
Breathing New Life into Old Pallets
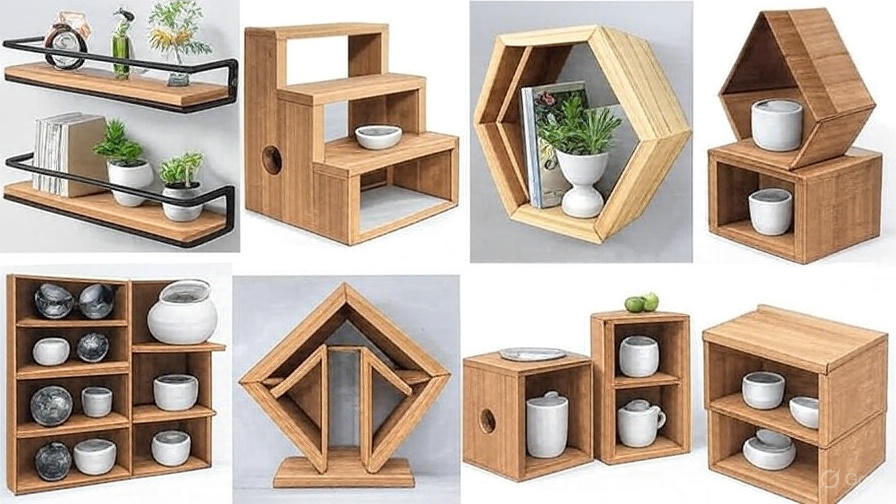
Upcycling basically means taking stuff that people might throw away and giving it a whole new job. Wooden pallets make a super good choice for that. This one turns those beat-up, rough pallets into cool wall art. Or even useful shelves. It brings this nice rustic feel to whatever room you put it in.
Materials Needed. Old wooden pallets, you can find them at local spots or online places. Sandpaper, the medium grit kind and fine grit too. Acrylic paint or maybe wood stain. Nails or screws. A hammer or drill. And if you want, fairy lights or little shelves.
Step-by-Step Process.
Preparation. Start off by checking the pallet for any nails or splinters that could hurt you. Pull those out. Clean it up with a wet cloth. Then sand the whole thing with medium-grit paper to get rid of the rough parts. Follow that with fine-grit for a nicer finish.
Painting or Staining. Pick colors that go with your room. Earthy ones like beige or teal are good for that rustic vibe. Brush on the paint or stain. Let it dry all the way, that takes about two to four hours. Add another coat if it looks like it needs it.
Assembly. Figure out if you want just a hanging piece or something that works as shelves. For hanging, put sturdy wire or rope on the back. If shelves, nail or screw small wood planks across it.
Finishing Touches. Weave fairy lights through the slats for a warm glow. Or mount the thing straight on the wall with the right hardware.
Tips for Success. Try out stencils or decals to get some patterns in there. This works great as an accent for your living room wall. With good lighting and the right shot, it can be a real standout on your Pinterest board.
Step-by-Step Process.

Preparation. Sand down that plank to smooth out the edges. Wipe it clean. Paint or stain it so it matches your setup. Let it dry overnight, that way it sticks better.
Attachment. Flip the jars upside down. Mark where the metal bands line up on the plank. Drill little holes first to stop the wood from cracking. Screw the bands in place. Make sure the jar openings stay open for use.
Mounting. Hang the plank on the wall with anchors and screws. Then screw the jars into those bands.
Decoration. Wrap twine around the necks for a rustic touch. Or stick on labels you write by hand. That way you know what is what, like spices or supplies.
Tips for Success. Make sure everything is level when you put it up. Otherwise it looks off. People love this on Pinterest because it is so practical. And you can change it up. Metallic paint gives it a more modern edge.
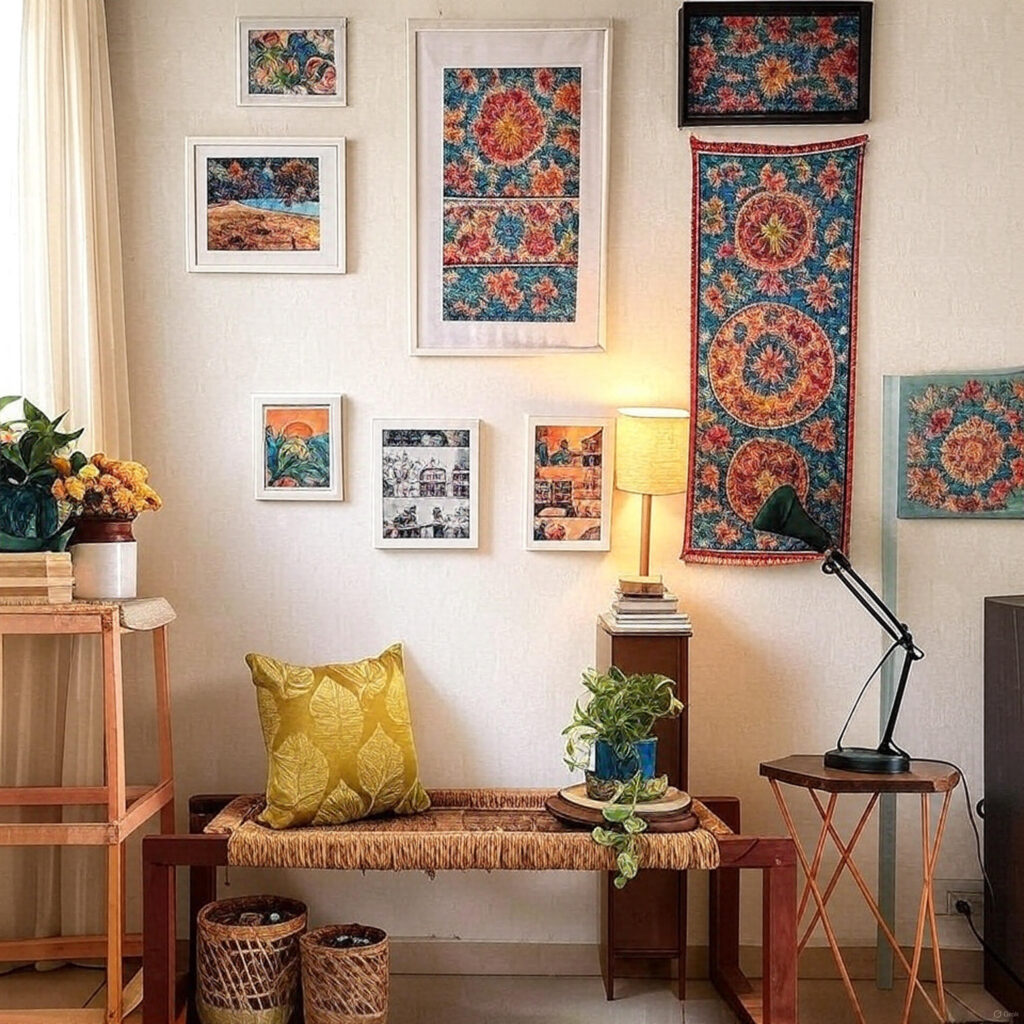
Fabric Scrap Wall Hanging
Turning Scraps into Art
Got some leftover fabric from sewing? This wall hanging is a fun way to use it all. It has that bohemian look. Adds texture and colors to a room. Great for bedrooms. Or a cozy reading spot.
Materials Needed. Fabric scraps, assorted ones. Cotton or light stuff works best. A wooden dowel, one or two inches thick. Scissors. Glue or needle and thread. Beads or tassels if you want extra.
Step-by-Step Process.
Preparation. Cut the fabric into strips. Make them different lengths, six to twelve inches. Widths from one to three inches. Mix up colors and patterns so it looks interesting.
Assembly. Fold the top of each strip over the dowel. Glue it or sew a quick stitch to hold. Vary the lengths. Layer them to get that hanging down effect.
Finishing. Put beads or tassels on some ends for more style. Tie string to the dowel ends. .
Placement. Put it somewhere with good light. That shows off the fabrics nice.
Tips for Success. A rotary cutter helps if you have one, for straight cuts. This thing looks vibrant on Pinterest. All eclectic and stuff. Snap a pic against a plain wall to make it pop.
DIY Concrete Planters
Building Modern Planters
Concrete planters give off this industrial modern feel. And you can make them yourself without too much hassle. They suit indoor plants like succulents. Or little herbs. Brings some nature inside.
Materials Needed. Concrete mix from the hardware store. Small molds, like plastic ones or silicone. Water. A bucket for mixing. Paint if you want color. Trowel or spoon.


I love the idea of revamping your space with DIY projects. It’s such a personal way to express yourself and really make your home feel like ‘you.’ Do you think there’s a certain craft that’s easier for beginners to start with?
I like how this postBlog comment creation highlights DIY as a way to refresh your space without a major renovation. What really stood out to me is that projects like these not only make your home feel more personal, but they also give you that sense of accomplishment you don’t get from store-bought décor. I’d be curious to know which of the five crafts felt most beginner-friendly for someone who’s new to DIY.
It’s amazing how a few small projects can really transform a room. I particularly love the idea of making custom art pieces that match your unique style. It’s a great reminder that you don’t need to spend a lot to make your space feel like home.
I like how this post highlights simple yet detailed DIY crafts as a way to refresh a space without major renovations. Sometimes it’s the smaller, handmade touches that make a home feel more personal and inviting. I’d be curious to know which of the five crafts you think has the biggest impact for beginners just starting out.
It’s amazing how a simple DIY project can completely transform a room. I especially like the idea of using materials that are already at home. It feels so much more sustainable!
I love howBlog comment creation you broke down the DIY ideas into detailed steps — it makes starting a home project feel way less overwhelming. I’ve been looking for creative ways to repurpose things I already own, so these ideas are perfect for a weekend project. Do you have any tips for choosing which craft to start with if you only have a couple of hours free?